Installing captive screws can seem a bit tricky at first, but it's actually a straightforward process once you know the steps. As a supplier of Screws And Bolts, I've dealt with all sorts of fasteners, and captive screws are among the ones that are both useful and interesting to work with.
First off, let's talk about what captive screws are. Captive screws are designed to stay attached to a part even when they're not fully tightened or are in a loose state. This is super handy in a lot of applications where you don't want the screw to get lost, like in electronic devices, machinery, or furniture.
Tools You'll Need
Before you start the installation, gather the necessary tools. You'll typically need a screwdriver that matches the head type of your captive screw. For example, if it's a Phillips - head captive screw, grab a Phillips screwdriver. You might also need a drill if you're creating new holes for the screws. And don't forget a measuring tape or a caliper to ensure you're drilling the right - sized holes.
Preparing the Workspace
It's important to have a clean and organized workspace. Clear away any debris or clutter that could interfere with the installation process. Lay out all your tools and the captive screws so that you can easily access them. This will save you time and frustration later on.
Measuring and Drilling Holes
If you're installing captive screws in a new surface, the first step is to measure and mark the locations for the holes. Use your measuring tape or caliper to get accurate measurements. Make sure the holes are evenly spaced according to your requirements.
Once you've marked the spots, it's time to drill. Select the right drill bit size for your captive screws. The hole should be slightly smaller than the diameter of the screw's threads. This ensures a snug fit and proper holding power. When drilling, apply steady pressure and keep the drill perpendicular to the surface to avoid creating angled holes.
Inserting the Captive Screws
Now that you have your holes ready, it's time to insert the captive screws. Take a captive screw and align it with the hole. Start turning the screwdriver slowly to thread the screw into the hole. Be careful not to force it too hard, as this could damage the threads or the surface.
As you turn the screwdriver, the screw will start to enter the hole. Keep turning until the screw is mostly inserted but still a bit loose. This is where the "captive" feature comes in. The captive mechanism will keep the screw in place even if it's not fully tightened.
Tightening the Screws
Once the screw is inserted, you can start tightening it. Use the screwdriver to turn the screw clockwise until it's firmly in place. Don't over - tighten, as this can strip the threads or damage the material. You want the screw to hold the parts together securely without causing any harm.
Types of Captive Screws and Their Applications
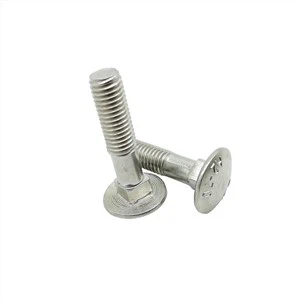
There are different types of captive screws, and each has its own unique applications. For instance, Stainless Steel Square Neck Carriage Bolts are great for applications where you need a strong and corrosion - resistant fastener. They're often used in outdoor structures or in machinery that's exposed to the elements.
Wafer Head Drilling Screw is another type. These screws have a low - profile head and can drill their own holes, which makes them ideal for thin materials like sheet metal. They're commonly used in electronics and automotive applications.
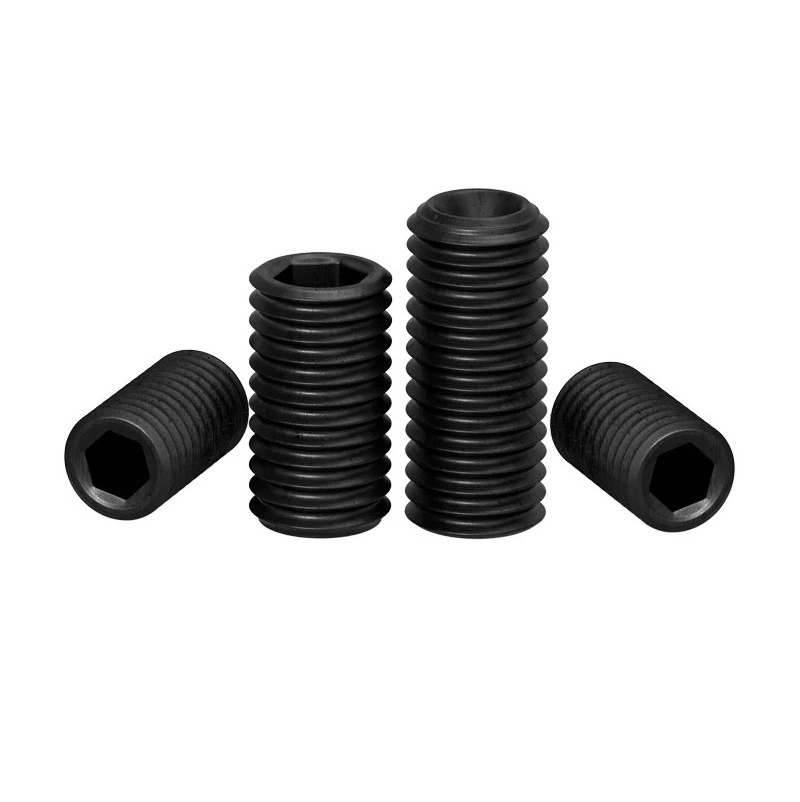
Slotted Hex Socket Set Screw With Flat Point is useful for applications where you need to secure one part against another without protruding. The flat point allows for a stable contact surface, and the slotted hex socket provides multiple options for tightening.
Alloy Steel Cup Point Set Screws are designed with a cup - shaped point that digs into the mating surface. This provides a strong holding power and is often used in machinery to prevent parts from moving.
Pan Head Self Drilling Screws are popular in construction and woodworking. The pan head provides a large surface area for a secure hold, and the self - drilling feature makes installation quick and easy.
Troubleshooting
Sometimes, you might run into a few issues during the installation process. If the screw won't go in easily, it could be because the hole is too small or the threads are misaligned. Try using a slightly larger drill bit or realigning the screw.
If the screw is loose even after tightening, it could be due to a worn - out captive mechanism or an improper fit. In this case, you might need to replace the screw.

Maintenance
Once the captive screws are installed, it's a good idea to perform regular maintenance. Check the screws periodically to make sure they're still tight and in good condition. If you notice any signs of wear or damage, replace the screws as soon as possible.
In conclusion, installing captive screws is a relatively simple process as long as you follow the right steps. Whether you're working on a small DIY project or a large - scale industrial application, having the right knowledge and tools is key.
If you're in the market for high - quality captive screws or any other types of screws and bolts, we've got you covered. We offer a wide range of fasteners to meet your specific needs. Contact us for more information and to start a procurement discussion. We're here to help you find the perfect solutions for your projects.